Welcome

Hello and welcome to my blog of card crafts. I am happy that you stopped by for a visit. I hope you can visit often. Have a wonderful and blessed day! "I will praise thee; for I am fearfully and wonderfully made: marvelous are thy works; and my soul knows right well." Psalm 139:14

Monday, March 18, 2013

Technique Tuesday -- Rock N Roll


No, we are NOT going to be jammin'  today at Sparkle N Sprinkle, but the name of my technique is Rock N Roll. This is an old technique that I really like and decided to bring out again. I hope you will enjoy doing this one and will try it on some of your Spring cards. It is really easy and fun to do.


Supplies needed:
  1. various colors of pigment inks -- some light and some dark
  2. white card stock
  3. solid stamps

I use pigment inks because they stay juicier longer.  You will need a light and a dark ink for each stamp.


Next ink up the whole stamp with the light color of ink.  I started with yellow.


Now take the inked stamp and roll it around on the darker color ink pad,  just rolling the stamp around on the edges. Here I used red.


Stamp on your card stock.  Keep doing this with the other flower stamps until you have the look you want.


I also stamped more flowers, cut them out and added glitter on the edges to add interest.  I pop dotted them on top of the other flowers that I stamped first.  Thanks so much for stopping by. Have a wonderful and blessed day!

April

Sparkle N Sprinkle supplies used:

  1. Peony 2    3476-429C
  2. Daisy 2     3471-429AA
  3. Leaf Small    3478-429A
  4. Celebration velvet glitter    GM2010
  5. Gypsy Red velvet glitter    GM2005
  6. Purple Potion velvet glitter    GM2001
  7. Jasper Blue velvet glitter    GM2012


Saturday, March 16, 2013

Stamping Cat

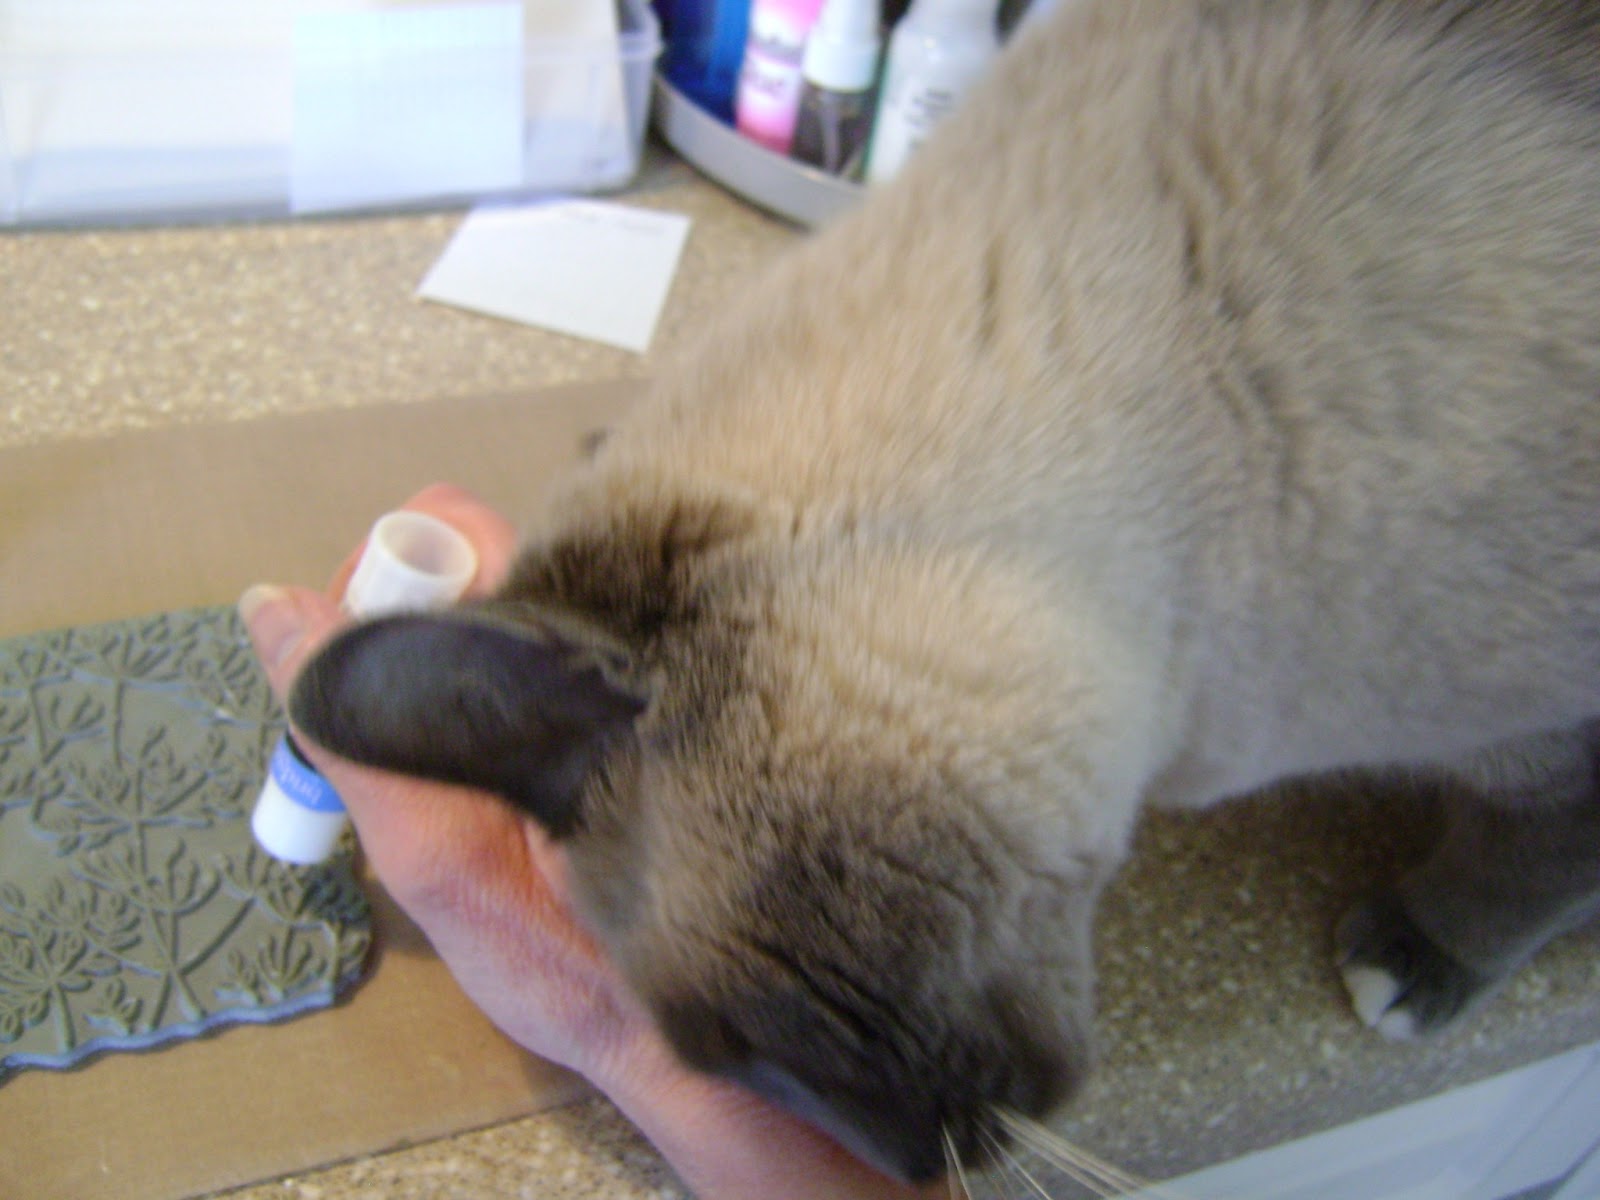
Hi Everyone, I hope you are enjoying your weekend. It is warm here, so I am enjoying mine very much! Lately I have had a "helper" in my craft room. My cat, Pepper, seems to love my room as much as I do! As you can see she has to get right in the middle of things! LOL! I have never heard such squeaking and purring from her. Yes, she squeaks instead of meowing! Crazy cat! Just wanted to share. Enjoy!


Pepper is tired after all that "crafting" !

Wednesday, March 13, 2013

Sparkle N Sprinkle -- My Favorite Technique Blog Hop

Hi Everyone! Welcome to the Sparkle N Sprinkle "My Favorite Technique" Blog Hop. If you have come by way of creative Shanna, then you are in the right place. If not, you might want to start at the beginning at the Sparkle N Sprinkle blog so that you will be eligible for some fun prizes! I just love techniques and when I saw this technique that our very talented designer, Marie, came up with, I knew I had to try it! You can see her instructions here. Basically I poured glitter on a Super Adhesive sheet and then pounced a few light colors of alcohol inks all over the glitter for a shimmery background. Since Easter is right around the corner, I thought I would use this cute little stamp set -- Easter Chicks. These stamps just make me smile. You can click here to see the card instructions.


Thanks so much for stopping by. Please make sure that you leave a comment on each designer's blog. Prizes are hidden in some of the designer's blogs, so don't miss out! Now hop on over to Brigita's blog to see her wonderful creation!

Monday, March 11, 2013

Technique Tuesday -- Acetate and Tissue Paper


Hi Everyone! Welcome back to the Sparkle N Sprinkle Technique Tuesday. I am looking forward to Spring, aren't you?  I am using a new Sparkle N Sprinkle stamp set with my technique today. It is called Silhouettes and it is perfect for those Spring cards you are making. 

Stamp Set 493 - Silhouettes
I hope you will enjoy the technique I am showing, so here goes!


Supplies needed:
  1. acetate or thin plastic
  2. white tissue paper
  3. clear glue
  4. Staz On Jet Black ink pad 99704
  5. clear glitter ( I used Bridal G1029 )
  6. markers
  7. water spritzer
  8. white card stock
  9. reinkers ( I used blue and green )
  10. gloves ( optional )

Stamp your image on the piece of acetate using Staz On Jet Black ink. This is permanent so that it dries on the acetate and doesn't smear.


Take the other flower stamps and color directly on your stamps with markers.


Spritz the colored stamp lightly with water and stamp onto the white card stock.


Now take the stamped acetate piece and turn it over on the non stamped side. Add clear glue all over the image. The clear glue makes it easier to see what you are doing.


Drop a few drops of reinkers into the glue. I used blue at the top and green at the bottom. 


Take your finger and smear the reinkers into the glue. I tried using white glue at first and found the reinkers got too muddled.


I wanted to add a little sparkle to my piece, so I sprinkled some glitter over the glue and spread it around with my finger.


Now take the white tissue paper and place it over the glue and glitter. If you want it less wrinkled, press the tissue paper more into the glue.


Now for the last step! Take the white card stock that you stamped the colored flowers on and press this on top of the tissue paper.  Let all of this dry well. You will see that you have the color showing through behind the silhouettes, and that there is a soft background with shimmer. 


Now cut out the piece in the shape you want it and add to your card. Thanks for stopping by. Have fun with this technique and have a wonderful day!

April

Thursday, March 7, 2013

Flower Girl

Hi Everyone! Thanks for stopping by today. I am really looking forward to Spring and it's right around the corner! It seems that winter came late for us, so we are having cold weather when we should be warmer! Here is a card I made recently using the Sparkle N Sprinkle stamp, Catherine 0900-164M. I made flowers that I cut with a die from a coffee filter. I stamped the coffee filter all over with Versa Mark ink and added Candlelight, Cerulean Star and Antiquities embossing powders also from Sparkle N Sprinkle. When you heat set the embossing powders the coffee filter looks waxy and shimmery. You can see the instructions for this technique here. I am looking forward to a warmer weekend as they are forecasting! I hope you have a good one!


Monday, March 4, 2013

Technique Tuesday -- Glitzy Glue


Wow! Technique Tuesday came around fast at Sparkle N Sprinkle! I hope you had a good weekend. I named this technique Glitzy Glue because you use a lot of glue and as you can see it is very glitzy. I loved this technique and ended up making a lot of backgrounds with it.


Supplies needed:
  1. Brushable Glue 540
  2. water spritzer
  3. stipple brush
  4. black glossy card stock
  5. 3 colors of pigment powder paints
  6. glitter ( I used Autumn Medley G1013 )
  7. heat tool
  8. plastic or metal plate or pan for glue
  9. spray sealer
Squeeze about a quarter size puddle of glue onto plate and spritz it with water to make it soupier.


Take the stipple brush and start pouncing the glue all over the glossy black card stock.


Add your first color of pigment powder paint over the glue. I poured it straight from the bottle, tapping gently. Be careful not to pour out a bunch in one spot. You may want to dip a paintbrush into the powder and flick off the powder.


Do this with the other 2 colors of powder paints.


I wanted to add a little more sparkle so I sprinkled on some glitter at the end.


Now this is the tricky part! WARNING! Make sure you heat this piece from the bottom! My friend, Bren, and I found out the hard way. We had powder flying everywhere! LOL! Heat this from the bottom using your heat tool and heat until you see the glue bubble. Then start heating from the top. There will still be some powder flying, but not too much. You can see that the glue gives a neat shimmery texture with the powder paints. Of course the glitter added that special touch! You will definitely have to use a spray sealer to seal your work.


I hope you have as much fun as I did making these backgrounds. Thanks for stopping by. Have a great day!

April

Other Sparkle N Sprinkle supplies used:
  1. Fancy Butterfly 3546-437G
  2. Fiery Fushia glitter G1004
  3. Mirror Gold card stock 99570
  4. Sakura glue pen 99202

Sunday, March 3, 2013

12 Tags of 2013 -- March

Hi Everyone! I hope you have been enjoying your weekend. It has been pretty chilly here, but mostly sunny. I am looking forward to Spring. Tim Holtz's tag challenge for March is all about Spring. You can see his demo here.  I always look forward each month for the new tag that Tim will show, and what technique he will teach. The sparkle on the egg cutout is courtesy of Sparkle N Sprinkle. I used Moon Rise Glitter Tinsel. It is white -- semi-transparent, so it picked up the colors from the paper behind it! Thanks for stopping by. I hope you have a wonderful week ahead!


Blog Archive